Showing posts with label DIY. Show all posts

18.12.13

NEW ADDRESS MOVING ON

It's official. I'm moving my blog to www.artpoliticslife.com !

I'm excited. Creatively I knew it was time for a change. Sorry it took so long. There was a definite learning curve since I switched to Wordpress. I guess I never fully appreciated blogger! Working through a completely new layout was a challenge. Then I got really busy with stressful not very exciting life stuff. Regardless, I feel really good about the direction the blog is going in. I'm trying to focus in on the visual and breakout of the standard blog post. I'm still trying to work around some issues mostly with load time and pluggins, but I feel like its ready to share. If you follow me on bloglovin' you should be transferred soon. Everything here will remain as an archive. Please stop by at www.artpoliticslife.com !

3.10.13

DIY TAKE BETTER PRODUCT PICTURES


Notable: stunning product photography on a shoestring budget, great for product photography

I usually don't take product pictures, but I had to try this technique. It's incredibly easy see below for directions.


Use a shinny black folder as a base. Use an image on a tilted laptop screen as a background. Use a folder as a diffuser. Use a Lamp as a light source.

9.8.13

DIY Triangle Photos


Notable: A simple and sweet DIY, very designer

Point: I love this quirky effect. It looks great on pictures with a range of color. Yes, I am absolutely obsessed with my dogs. There names are Sammy and Dewy. Sammy is featured above.

Supplies:
1. A photo
2. Photoshop, gimp, or even paint will all work

Directions:
1. Make a triangle (or anyother shape for that matter) with the selection tool
2. Copy and paste
3. Move the new triangle to the side of the photo
4. Repeat to make layers triangles


2.8.13

Never Forget to Water the Plants Again.


For: the very busy and sometimes forgetful

Point: I can never remember to water the plants. Solution? Make a chalkboard planter to and write down a reminder. This can serve as a reminder for other things too or quotes and doodles.

Supplies: 
1. A Plant and potting
2. An old mug
3. Chalkboard spray paint

Directions:

1. Spray mug with paint
2. Let paint dry and insert plant


27.7.13

Make a gif


Notable: Gifs are easy to share, perfect for advertising or creating buttons on your blog

Point: I teamed up with Handmade Harbour to show how to make pretty and versatile Gifs.This is a great way to make a gif if you’re not so good with photoshop and prefer to work by hand. Part I and Part II include other methods and ideas so be sure to check them out.


Supplies: 
1. A printed out image
2. A camera
3. Photoshop
4. Anything extra you want to include in your gif such as glitter


Directions:
To create the effect:
1. Take pictures of each sequence of the motion whether it be glitter messages, a picture crumpling up, etc 
2. Import pictures into Photoshop and copy and paste them into one single canvas so each forms a layer

To create the animation:
1. Click the box in the far left corner that sets what type of project Photoshop is orientated for to motion
2. A bar at the bottom of the screen should appear
3. Click the triangle in the middle of the bar and make sure it is set to create frame animation
4. Click make frame animation and make as many frames as you have image layers
5. Select the first frame then go to the layers section and make sure you can only see the first layer or the layer the animation will start with
6. Select the second frame and the view option for the second layer, the third frame and view the third layer until you have gone through all the frames and layers
7. At the bottom of the animation bar there are options to change the animation to loop forever, one time, and three times, change this option to your preference
8. At the bottom of each frame there is a window to adjust how long each frame plays
9. There is also a play button try clicking it to see how your animation will play
10. To save a version for the web click file>save for the web
11. This will open up a window where you can adjust the size and color of your animation. Adjusting these options will change the size of your gif file, but if your using a digital stamp you really don't need to worry about this since they start out as really small files.
12. When you are done click save and you have made a gif.

Here is a good video on the animation process if you need extra help:


Note: If you came here from totally tutorials or handmade harbor, I'm happy to have you here. If you enjoyed this post please subscribe. I create DIYs almost every week, most are less technical than this one. 


25.7.13

How to make gifs


Noteable: Gifs are easily share-able, perfect for advertising or creating buttons on your blog

Point: I teamed up with Handmade Harbour to show how to make pretty and versatile Gifs. If you're here from Handmade Harbour or Totally Tutorials feel free to stick around or subscribe, I post DIY projects weekly. Today will be the technical version. For Part I click here. A guide on how to make a gif that uses a less technical method will be posted about in Part III later this week.


Supplies:
1. Photoshop
2. An already colored image or a digital stamp

Directions: 
To create the "Birds of a Feather Flock Together" gif 's effect:
1. Scan an already color image into your computer or use photoshop to color a digital stamp and add text to an the image
2. Create a duplicate layer
3. In the duplicate layer select the part of the image you want to move (for me it was individual birds) with the marque tool4. click edit>transform>flip horizontally

To create the animation:
1. Click the box in the far left corner that sets what type of project Photoshop is orientated for to motion
2. A bar at the bottom of the screen should appear
3. Click the triangle in the middle of the bar and make sure it is set to create frame animation
4. Click make frame animation and make as many frames as you have image layers
5. Select the first frame then go to the layers section and make sure you can only see the first layer or the layer the animation will start with
6. Select the second frame and the view option for the second layer, the third frame and view the third layer until you have gone through all the frames and layers
7. At the bottom of the animation bar there are options to change the animation to loop forever, one time, and three times, change this option to your preference
8. At the bottom of each frame there is a window to adjust how long each frame plays
9. There is also a play button try clicking it to see how your animation will play
10. To save a version for the web click file>save for the web
11. This will open up a window where you can adjust the size and color of your animation. Adjusting these options will change the size of your gif file, but if your using a digital stamp you really don't need to worry about this since they start out as really small files.
12. When you are done click save and you have made a gif.

Here is a good video on the animation process if you need extra help:


This is my first time doing a more technical DIY. So, if I have left anything out or if you any questions do not hesitate to comment below and ask them.

Note: If you came here from totally tutorials or handmade harbor, I'm happy to have you here. If you enjoyed this post please subscribe. I create DIYs almost every week, most are less technical than this one. Here is Part I of this DIY. Part III of this DIY will be posted later this week.


23.7.13

How to make a gif

Notable: Gifs are easily share-able, perfect for advertising or creating buttons on a blog

Point: I teamed up with Handmade Harbour to show how to make pretty and versatile Gifs. If you're here from Handmade Harbour or Totally Tutorials feel free to stick around or subscribe, I post DIY projects weekly. Today will be the technical version. Later this week, Part II and Part III will cover a method that doesn't require too much technical skill, so be sure to tune in then.


Supplies:
1. a image or digital stamp
2. Photoshop

Directions:
To create the effect similar to the "Be Bright" gif:
1. Open image into photoshop
2. Left click the original layer and select the option duplicate layer
3. Copy and paste font from a different image or add text using photoshop's text option
4. Select the paint brush tool and change its opacity to around 40%
5. Paint the section where you what the color of the image to start lightly
6. Duplicate the layer
7. Continue to paint a small section of the image and duplicate the last layer so the overall color grows each time

To create the animation:
1. Click the box in the far left corner that sets what type of project Photoshop is orientated for to motion
2. A bar at the bottom of the screen should appear
3. Click the triangle in the middle of the bar and make sure it is set to create frame animation
4. Click make frame animation and make as many frames as you have image layers
5. Select the first frame then go to the layers section and make sure you can only see the first layer or the layer the animation will start with
6. Select the second frame and the view option for the second layer, the third frame and view the third layer until you have gone through all the frames and layers
7. At the bottom of the animation bar there are options to change the animation to loop forever, one time, and three times, change this option to your preference
8. At the bottom of each frame there is a window to adjust how long each frame plays
9. There is also a play button try clicking it to see how your animation will play
10. To save a version for the web click file>save for the web
11. This will open up a window where you can adjust the size and color of your animation. Adjusting these options will change the size of your gif file, but if your using a digital stamp you really don't need to worry about this since they start out as really small files.
12. When you are done click save and you have made a gif.

Here is a good video on the animation process if you need extra help:


This is my first time doing a more technical DIY. So, if I have left anything out or if you any questions do not hesitate to comment below and ask them.

Note: If you came here from totally tutorials or handmade harbor, I'm happy to have you here. If you enjoyed this post please subscribe. I create DIYs almost every week, most are less technical than this one. Part II and Part III of this DIY will be posted later this week.

17.7.13

Sneak peek!


Point: So excited for a very cool upcoming DIY. Share, share share!


28.6.13

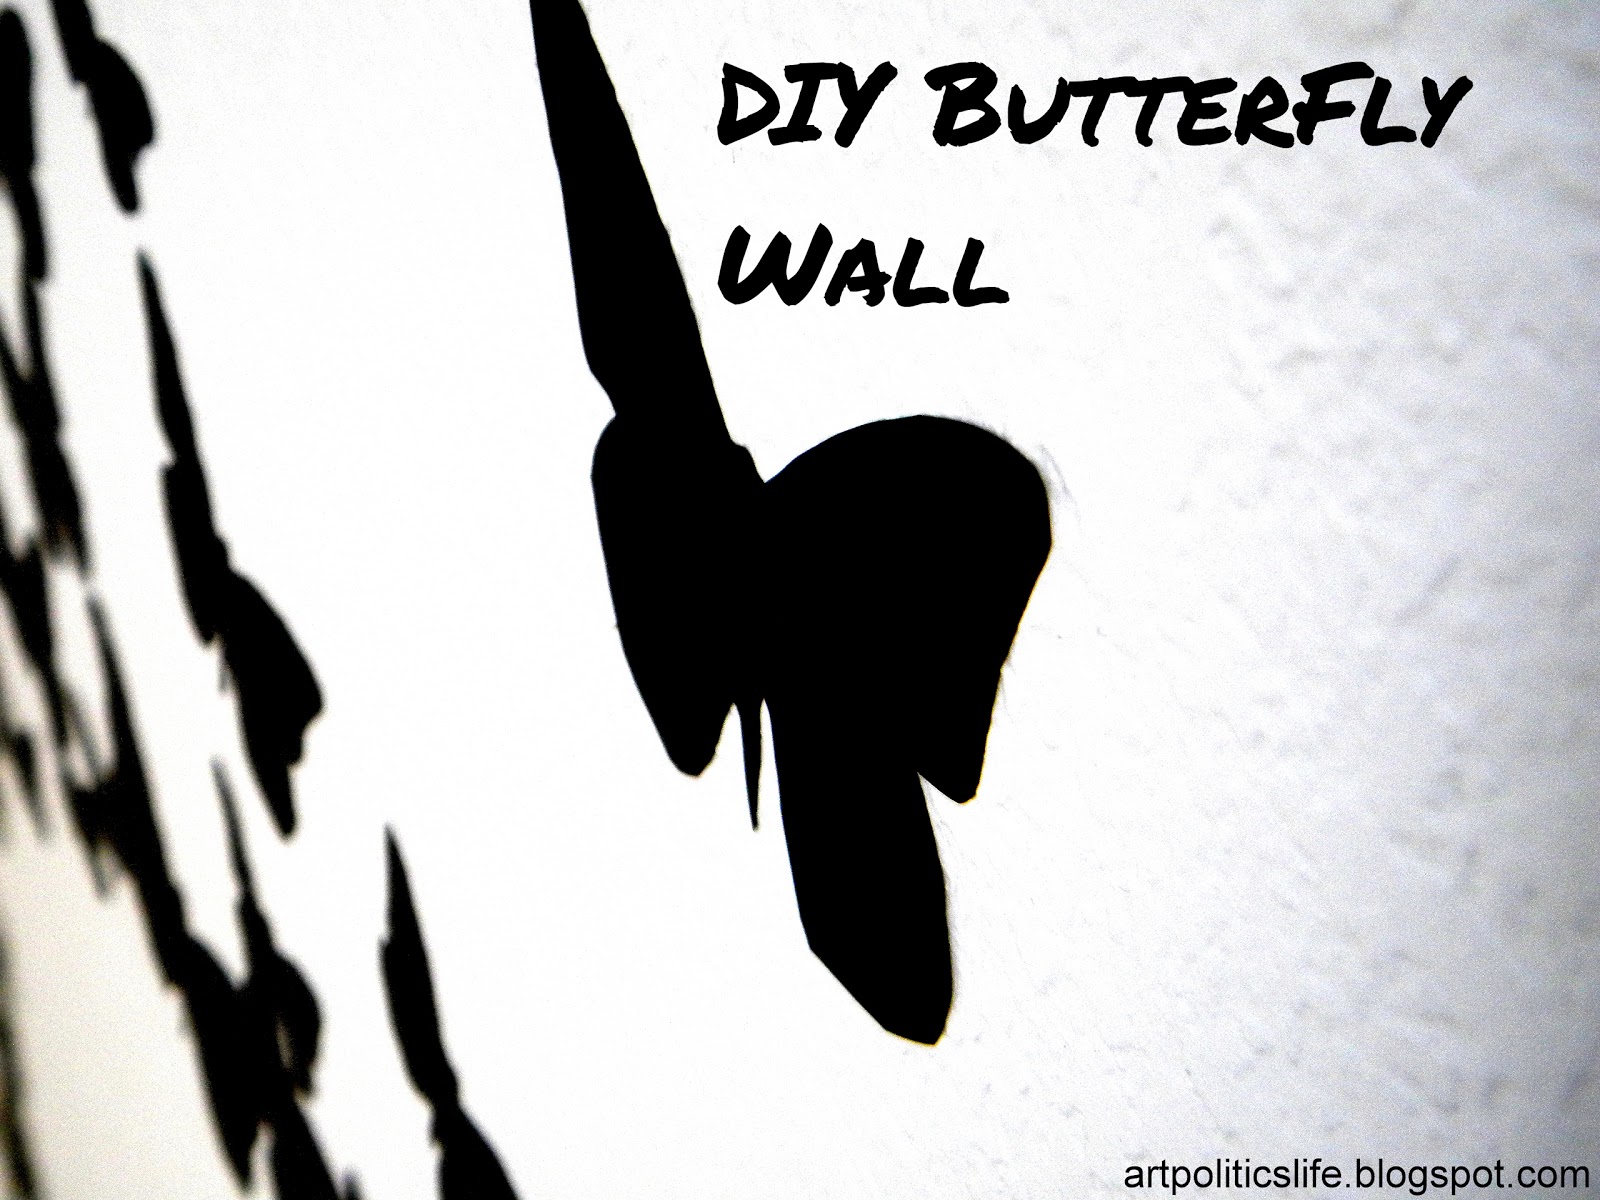
Wall Art DIY


Notable: Removable decals that mimic black paint, a technique that can be use to create many different patterns of wall art, perfect for dorm rooms, more affordable than pre-cut vinyl stickers, super simple

Inspired: by Paul Villinski's work

Supplies:
1. Contact paper or vinyl decal paper ( available at most craft stores in large wallpaper roll quantities)
2. Scissors
3. A permanent marker
4. A stencil :


Directions:
1. Use a permanent marker to trace the stencil to the back of the vinyl paper
2. Cut out vinyl stickers

Finished:


14.6.13

DIY Bow Pillows

 Because of my upcoming midterms for summer classes, I am not going to post a DIY that I made today. Instead, I found the most adorable pillows from the Kate spade blog. I definitely will be making these at some point. I mean how can you go wrong with Kate Spade?

128_Mondays on Madison 1

7.6.13

Reading Nook


Have an old Wardrobe or Cabinet? Make a reading nook by taking off the furniture's doors and removing any shelves. Add a seat cushion, blankets, and pillows and cozy place to sit is created. I've always wanted a window seat. This is probably the next best thing. Bonus it has drawers on the bottom for extra storage. I also repainted it to match my room.


31.5.13

DIY Fabric Flowers, How do you make a fabric flower?


So, this DIY is really inspired by heartmade (one of my favorite blogs). I loved it so much when I found it on pinterest I had to try it. It definitely matches the bold and colorful pieces already in my room.


I did a few things differently...

1. I made my flowers bigger using a cup's mouth as a stencil.

2. I made so many flowers that it made sense to use hot glue instead of a needle and thread. Hot glue ended up working really well.


3.To hang the garland I used pushpins. They haven't come out and it's much easier than installing hooks. 


(yes that picture is a Klimt print, every house should have one)
4. To make more of a statement backdrop (hello I'm all about the statement!) I hung the garland vertically.


Also, look at these pictures!!! I am definitely getting better with a point and shoot and gimp. And I am officially in love with Macro Photography!


24.5.13

DIY Scallop Furniture


I LOVE how this turned out! my plain white bookcase really needed some sprucing up. I went with a very retro but bold theme and used scallops and stripes.

Supplies needed:
A Piece of Furniture (obviously)
A Skinny Sharpie color of your choice
A Fat Sharpie color of your choice
Wall paint
A Scallop Stencil (see below)


1. You can make a scallop stencil by printing out a picture of scalloping on card-stock (like the one above). Then cutting out the top half right above the scallops.

2. Wall paint the surface of the furniture you want to scallop. I painted random stripes of different paint colors on to go with the rest of my room.

3. Use a thin sharpie to outline the scallop stencil

(PS ridiculously proud of this picture!)

4. Use a thick marker to go over the outlined scallop shape. You can chose your preferable thickness and smooth out any mishaps you may have had with the stenciling.

5. And your done, so so easy and it turns out looking great!


On a side note, look how much better my photography is for this post! It's still not where I want it to be, but it's getting better with practice!!!!

What have you used Sharpies to create?


17.5.13

DIY Furniture Painting


Ok I'm going to be honest here. This DIY is the short cut way of painting furniture. This means its not perfectly done and is definitely meant for pieces that don't get so much everyday use. Moreover, if you want to try this, please don't go out and paint your most valuable piece of furniture that you already love even without paint. I decided to paint my nightstand which I literally picked up off the street. It was in desperate need of a fix-up. I think the paint job brought out more of its true character. Like I mentioned before everyone needs color.

When painting Furniture try to keep these things in mind:

1. Preparation- Sand your furniture this will help it absorb more paint. Also be sure to give in a good cleaning before you paint you don't want dust or hair to get permanently trapped in the paint.

2. Use a clean quality bristle brush, like this one, to get a better result.

3. Pay attention to the type of paint you buy, as different types of paint will give you different finishes and results. I used wall paint . Also consider the amount of paint you need. Its not like painting a wall, you really don't need that much paint. Sample size paint work really well and a lower cost options.

4. Don't be afraid to experiment. You probably already hate the furniture in its original color, so how could it possible get worse. Try different finishes or even aging techniques

 Here's how my nightstand turned out:
The night stand was originally white washed. The colors I used were: Ocean Depths, Celestial Blue, and Transit Pass which are all colors from Pantone inspired paint.

If you want to get more serious about furniture painting, I would suggest reading this book. Of course, with practice you will get better results.

10.5.13

DIY custom card


With mother's day around the corner, I think we all need some cards. However, I am so poor right now I really don't have the money to buy a card. Oh well, homemade cards are the best anyway.


Here is the front and back respectively. The whole creating process is pretty self explanatory.


Supplies needed:

glue
scissors
white paint
a pencil
a paint brush
paper cutouts, ribbons, or other things to attach to the card
cardstock
family photos, preferably old polaroids and ones taken recently combined
a page from a book


To make the back arrange photos so all faces in each picture can be seen.
Then make a black and white copy with a copy machine or at a Xerox so that all of the photos now appear on one page.

Cut the page to fit the card stock.
Glue and the back is finished!


For the front glue a book page on the card stock.
Then paint over every word on the page except the words or sentence that make up the cards message.


It's kind of hard to see but the words on my card read: "Always remember,  I love you, I can promise you that"

Glue on any cutouts and sign your name. Then your Done!